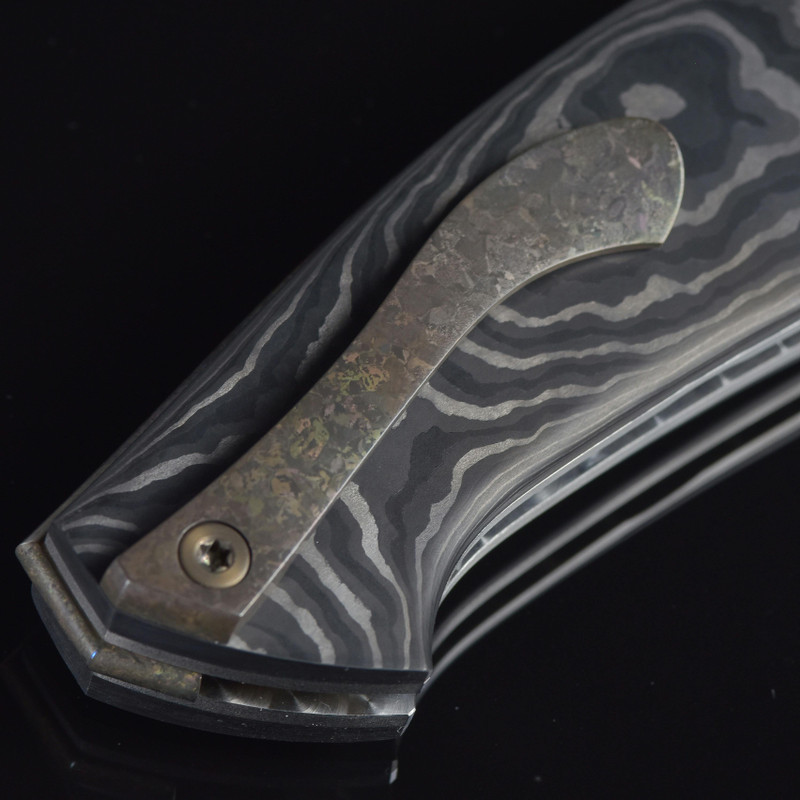
If you've ever held a well-crafted folding knife in your hand, you know there's something special about the way it fits, functions, and feels. Imagine the pride and satisfaction of carrying a knife that you've made yourself. Custom folding knives are not only a practical tool, but also a piece of art that reflects your craftsmanship and personality. Whether you're an outdoor enthusiast, a collector, or someone interested in handmade tools, building your own folding knife is a rewarding experience.
In this guide, I’ll walk you through the basics of making a custom folding knife. From selecting materials to shaping the blade, we’ll cover everything you need to know to craft a quality knife that works as well as it looks.
Tools and Materials You’ll Need
Before you start, it’s important to gather the right tools and materials. Here’s what you’ll need:
Essential Tools:
- Belt grinder
- Heat Treating Oven
- Drill press
- Sandpaper
- Calipers
- Clamps
- Files
- Epoxy/Glue
Materials:
- Blade steel
- Handle material (G10, Micarta, wood, titanium, carbon fiber, bone, etc.)
- Pivot screws and washers
- Titanium or stainless steel screws
Now that you have your tools and materials, let’s dive into the process.
Step 1: Design Your Folding Knife
The first step is to design your knife. Think about the purpose of the knife—do you want a compact everyday carry (EDC), or something more robust for outdoor use? The design will dictate the materials and construction techniques you use.
Start simple. A basic drop-point blade design is both functional and easy to shape. You can sketch your design on paper or use software like AutoCAD to get precise measurements. Make sure to include details like blade length, handle shape, and lock mechanism (liner lock or frame lock are common options for folding knives).
Step 2: Select and Cut Your Blade Steel
Once you have a design, it’s time to cut out the blade from your steel stock. High-carbon steel is a great beginner material because it’s easier to work with and holds an edge well.
- Transfer the design: Using a sharpie or layout fluid, trace your blade outline onto the steel.
- Cut the blank: Use a hacksaw or bandsaw to rough cut the blade blank. Take your time and cut outside the lines, leaving some extra material for shaping.
Step 3: Shape the Blade
Now comes the fun part—shaping the blade.
- Grind the profile: Using a belt grinder (or files), grind down the blank until it matches your design. Be mindful of heat buildup—too much heat can ruin the temper of the steel.
- Grind the bevel: The bevel is the angled part of the blade that leads to the cutting edge. This is a crucial step, as the bevel affects how well your knife will cut. For beginners, a flat or hollow grind is ideal.
If you're not using power tools, files will work, but they will require more patience and precision.
Step 4: Heat Treatment
Heat treating is what gives your blade its hardness and durability. Follow these steps:
- Heat the blade: Using a oven, heat the blade until it becomes a glowing cherry red (about 1500°F for most steels).
- Quench the blade: Quickly dip the hot blade into oil to cool it down. This hardens the steel.
- Tempering: After hardening, temper the blade by placing it in an oven at around 400°F for an hour. This process reduces brittleness and makes the blade tougher.
Step 5: Assemble the Handle and Pivot Mechanism
While the blade cools, you can start on the handle.
- Cut and shape your handle material: Depending on your design, cut two pieces of your handle material and shape them to match the blade’s tang. G10 and Micarta are strong and easy to work with, but wood can give a more traditional look.
- Drill holes for the pivot and screws: Precision is key here—ensure the pivot hole aligns perfectly with your blade.
- Assemble the parts: Insert your pivot, washers, and any screws, then attach the handle scales. Check that the blade opens and closes smoothly. Adjust the tension with screws or spacers if necessary.
Step 6: Final Finishing
This is where your knife will start to look like a true work of art.
- Polish the blade: Use progressively finer grits of sandpaper, moving from 400 up to 2000, to achieve a mirror finish.
- Sharpen the blade: You can use a whetstone or guided sharpening system to put a razor-sharp edge on your blade.
- Finish the handle: Apply oil or polish to wooden handles for a smooth, durable finish. G10 or Micarta can be sanded down for a textured grip.
Step 7: Test and Fine-Tune
The final step is testing. Open and close your knife several times, checking for smooth action. Make sure there’s no play in the blade when open and that it locks securely. If you feel any resistance, you may need to polish the pivot area or adjust the washers.
Finally, take it for a test cut! Try slicing paper, cardboard, or wood to ensure the blade holds its edge and performs well.
Wrapping Up
Creating a custom folding knife is not only a practical skill but an art form that you can refine over time. With patience and practice, you’ll be able to make knives that are unique, high-quality, and truly your own. Whether you're looking to build a personal collection or even sell your creations, the process of knife-making is incredibly rewarding.
Now that you know the basics, it’s time to get started! Grab your materials, put on your safety gear, and let your creativity guide you.
Happy knife-making!

